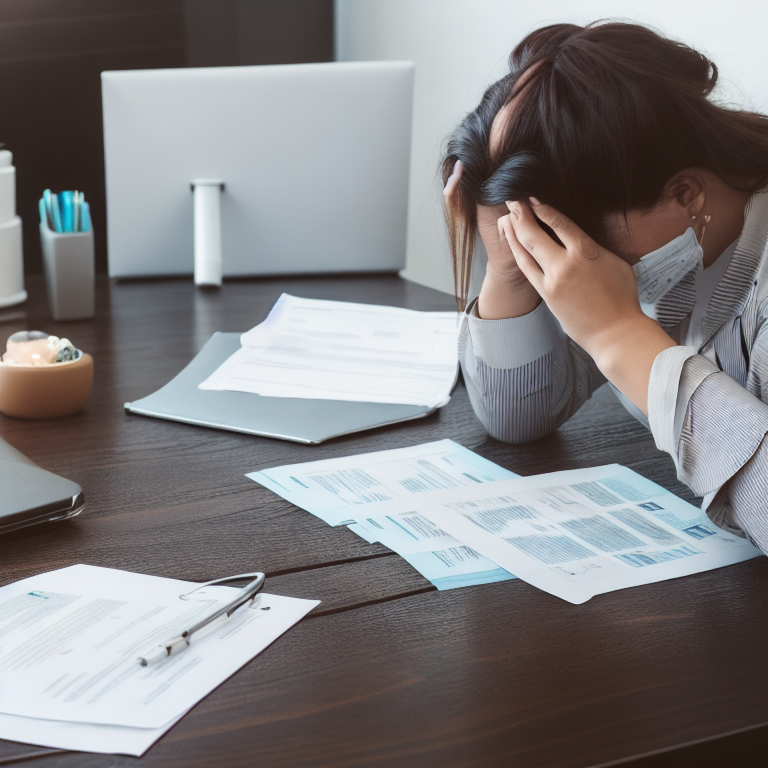
When disaster strikes your home or property, one of the most important steps you can take is properly documenting the damage for your insurance claim. Many people find themselves frustrated when their claims get delayed or denied, often because they didn’t provide enough evidence of what happened. Taking the right photos, keeping detailed records, and knowing what information to collect can make the difference between a smooth claims process and months of headaches.
The good news is that documenting damage doesn’t have to be complicated. With a few simple strategies and the right approach, you can create a strong foundation for your claim that will help your insurance company understand exactly what happened and how much it will cost to fix. This guide will walk you through everything you need to know about documenting damage effectively, from the moment you discover the problem until you submit your final claim.
Before we dive into the specific tips, it’s worth mentioning that proper documentation goes hand-in-hand with understanding how to file an insurance claim without stress. When you have all your evidence organized and ready, the entire claims process becomes much smoother and less overwhelming.
Why Proper Documentation Matters
Insurance companies base their decisions on evidence, not just your word alone. When you file a claim, the adjuster needs to verify that the damage actually occurred, when it happened, and how severe it is. Without proper documentation, they might question whether the damage existed before the incident or whether it’s as bad as you claim.
Think of documentation as building your case. Just like in court, the more evidence you can provide, the stronger your position becomes. Photos, videos, receipts, and detailed notes all work together to create a complete picture of what happened. This evidence helps prevent disputes about the extent of damage or the cost of repairs.
Proper documentation also speeds up the claims process. When an adjuster can clearly see what happened through your photos and videos, they can process your claim more quickly without needing to schedule multiple inspection visits. This means you’ll get your settlement faster and can start repairs sooner.
What to Document First: The Initial Discovery
The very first thing you should do when you discover damage is to document the scene exactly as you found it. This means taking photos and videos before you touch anything or start cleaning up. Many people make the mistake of immediately starting to clean or move damaged items, which can actually hurt their claim.
Start by taking wide-angle photos that show the entire affected area. Then take close-up shots of specific damage points. If there’s standing water, debris, or other conditions that might change quickly, document those too. The goal is to capture the scene exactly as it was when you first discovered the problem.
Make sure your photos are clear and well-lit. If the area is dark, use your phone’s flash or bring in additional lighting. Take multiple photos from different angles to show all sides of the damage. Don’t just take one photo and assume it’s enough – insurance adjusters need to see the full extent of what happened.
Creating a Detailed Inventory of Damaged Items
Once you’ve documented the scene, the next step is creating a detailed inventory of all damaged items. This goes beyond just saying “my living room furniture was damaged” – you need to list each specific item, its age, original cost, and current value. For example, instead of “damaged TV,” write “42-inch Samsung TV, purchased in 2021 for $500.”
For each item, note its make, model, and approximate age. If you have receipts or warranty information, gather those as well. The more specific you can be, the better. Include items you might not think about at first, like clothing, books, or small electronics that were also affected.
This inventory process can be time-consuming, but it’s worth the effort. Insurance companies often ask for this level of detail, and having it ready can prevent delays in your claim. Plus, you might discover damaged items you hadn’t noticed initially, ensuring you don’t miss anything important.
Taking Professional-Quality Photos and Videos
The quality of your documentation photos and videos can significantly impact your claim. You don’t need professional equipment, but you do need to follow some basic principles to ensure your evidence is clear and useful. Good lighting is essential – natural daylight is best, but if that’s not available, use bright artificial lighting.
When taking photos, use the highest resolution setting on your camera. Take photos both with and without flash to see which provides better detail. For videos, hold your camera steady and slowly pan across the damaged area, narrating what you’re seeing. This creates a walking tour of the damage that adjusters can follow.
Pay attention to scale in your photos. Include common objects like a dollar bill, ruler, or your hand to show the size of damage. This helps adjusters understand the extent of the problem. Also, take photos of undamaged areas for comparison, which can help demonstrate how severe the damage really is.
Recording the Timeline of Events
Insurance companies want to know exactly when damage occurred and how it progressed. Creating a clear timeline helps establish the sequence of events and can be crucial if there are questions about the cause of damage or whether it could have been prevented. Start your timeline from the moment you first noticed a problem.
Document when you first saw signs of damage, what you observed, and what actions you took. Note any conversations with contractors, emergency services, or other relevant parties. If you made temporary repairs to prevent further damage, record when and how you did that. This timeline becomes part of your official claim record.
Keep all your timeline notes in one place, whether that’s a physical notebook or a digital document. Include dates, times, and specific details about what you observed. This documentation can be invaluable if there are disputes about when damage occurred or whether you took appropriate steps to mitigate it.
Understanding What Your Insurance Policy Covers
Before you get too far into the documentation process, it’s important to understand what your insurance policy actually covers. Different policies have different exclusions and limitations, and knowing these upfront can help you focus your documentation efforts on the right things. For example, if your policy doesn’t cover flood damage, documenting flood-related issues might not be productive.
Take time to review your policy documents or contact your insurance agent to clarify coverage details. Pay attention to specific exclusions, coverage limits, and deductible amounts. This knowledge will help you document damage appropriately and set realistic expectations for your claim.
If you’re unsure about your coverage, don’t hesitate to ask questions. Many people discover too late that certain types of damage weren’t covered under their policy. Understanding your coverage also helps you determine whether you need to file a claim or if the damage might be better handled out of pocket.
Organizing Your Documentation System
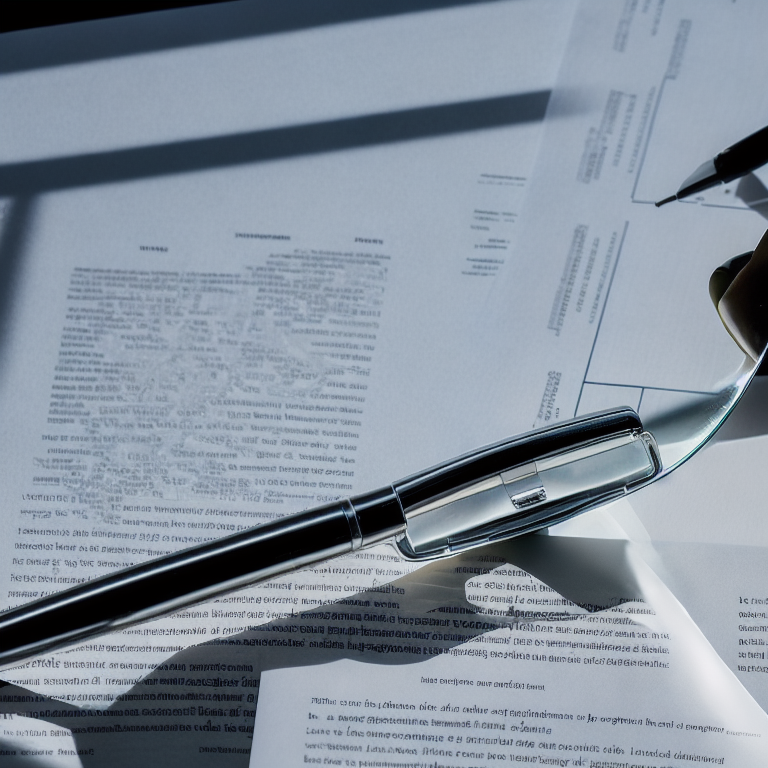
Once you’ve collected all your documentation, you need a system to keep it organized. Create a dedicated folder or digital file for all your claim-related materials. This should include photos, videos, inventory lists, receipts, repair estimates, and all communication with your insurance company.
Consider creating a spreadsheet to track damaged items, including their estimated value, age, and replacement cost. This makes it easy to provide information to your adjuster and ensures you don’t forget anything. Keep copies of all documents – never give away your only copy of important paperwork.
Your organization system should be easy to update as you gather more information. As you get repair estimates or discover additional damage, add that information to your files. Having everything in one place makes it much easier to respond to adjuster requests and keeps your claim moving forward smoothly.
Working with Contractors and Getting Estimates
Once you’ve documented the damage, you’ll likely need professional help to assess repair costs. When working with contractors, ask them to provide detailed written estimates that break down all costs. These estimates become part of your claim documentation and help justify the amount you’re requesting from your insurance company.
Choose contractors who are experienced with insurance claims and willing to work with your adjuster. Some contractors specialize in insurance repairs and understand how to provide the documentation adjusters need. Get multiple estimates if possible, as this gives you options and helps ensure you’re getting fair pricing.
Keep all contractor communications and estimates in your documentation file. Note when you spoke with each contractor, what they observed, and any recommendations they made. This information can be valuable if there are disputes about repair methods or costs later in the claims process.
Common Documentation Mistakes to Avoid
Many people make simple mistakes that can complicate their insurance claims. One of the most common is failing to document damage immediately. Waiting even a day or two can allow conditions to change, making it harder to prove what happened. Always document first, then address immediate safety concerns.
Another mistake is being too vague in your documentation. Saying “living room damaged” isn’t helpful to an adjuster who needs specific details. Be thorough and specific in your descriptions, photos, and inventory lists. Include measurements, brand names, and purchase dates whenever possible.
People also often forget to document the cause of damage. If a pipe burst, show the broken pipe. If a tree fell, include photos of the tree and how it damaged your property. This cause-and-effect documentation helps establish that the damage was sudden and accidental, which is typically required for coverage.
When to Call in Professional Help
While most documentation can be done by homeowners, there are situations where professional help is valuable. If you’re dealing with extensive damage, complex insurance policies, or disputes with your insurance company, consider hiring a public adjuster. These professionals specialize in documenting damage and negotiating with insurance companies on your behalf.
Public adjusters can provide detailed damage assessments, help organize your documentation, and ensure you’re asking for the full amount you’re entitled to receive. They typically work on contingency, taking a percentage of your settlement, but their expertise can often result in significantly higher payouts.
For very large or complex claims, you might also want to consult with an attorney who specializes in insurance claims. While this is usually unnecessary for straightforward claims, legal expertise can be valuable if you’re facing a denied claim or significant coverage disputes.
Frequently Asked Questions
What types of photos are most important for an insurance claim?
The most important photos show the full extent of damage from multiple angles, close-up details of specific damage points, and the cause of damage when visible. Include wide shots to show context, then zoom in on details. Photos should be clear, well-lit, and include scale references when helpful.
How soon after damage occurs should I start documenting?
Begin documenting damage immediately after ensuring everyone is safe and addressing any emergency situations. The sooner you start, the better your documentation will be, as conditions can change quickly. Don’t wait for the insurance adjuster to arrive – take your own photos and videos first.
Do I need to keep damaged items for the insurance adjuster to see?
In most cases, you should keep damaged items until the adjuster has had a chance to inspect them, unless they pose a safety hazard. If you must dispose of something dangerous, take extensive photos first and keep any receipts for disposal costs. Always document before removing anything.
How detailed should my inventory list be?
Your inventory should be very detailed, including item descriptions, purchase dates, original costs, current values, and any relevant model numbers or brands. For expensive items, include receipts if available. The more specific you can be, the stronger your claim will be.
Can I use my smartphone for documentation, or do I need special equipment?
Modern smartphones are perfectly adequate for most insurance documentation. Use the highest quality settings, ensure good lighting, and take multiple photos from different angles. The key is thoroughness and clarity, not professional equipment.
What if I discover additional damage after filing my claim?
If you discover new damage after filing, document it immediately and contact your insurance company. Most policies allow you to amend claims if you find additional damage, but there are usually time limits. Keep all documentation of the new damage and communicate clearly with your adjuster.
Conclusion
Documenting damage for your insurance claim might seem overwhelming at first, but with the right approach, it becomes a manageable process that can significantly improve your claim outcome. The key is to be thorough, organized, and proactive from the very beginning. By taking clear photos, creating detailed inventories, and keeping excellent records, you’re building a strong case that helps your insurance company understand exactly what happened and how much it will cost to repair.
Remember that proper documentation isn’t just about following rules – it’s about protecting yourself and ensuring you receive fair compensation for your losses. Take your time with the documentation process, be specific in your descriptions, and don’t hesitate to ask for help if you need it. Whether you’re dealing with minor damage or a major disaster, the effort you put into documenting now will pay off when it’s time to settle your claim.
If you found this guide helpful, you might also want to learn more about understanding insurance exclusions and what’s not covered by your policy. Being informed about both what to document and what your policy covers gives you the best chance of a successful insurance claim experience.